Archive for the ‘Gift Card’ Category:
April Swap
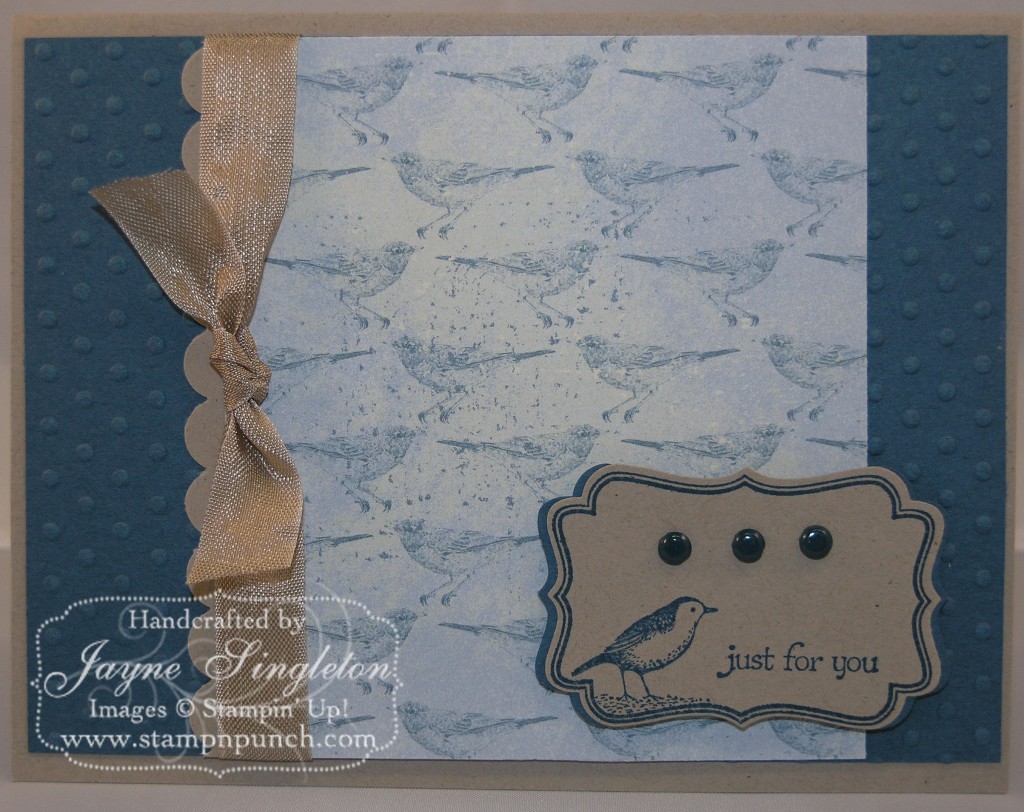
Paper: Crumb Cake, Not Quite Navy and Botanical Gazette DSP
Ink: Not Quite Navy
Accessories: Sizzix Big Shot, Perfect Polka Dots Embossing Folder, Scallop Border Punch, Decorative Label Punch, Crumb Cake Seam Binding Ribbon, Stamp-a-magig, Brads, Dimensionals, Adhesive

Kristen’s Shower Card

Paper: Whisper White, Real Red & Shimmery White
Ink: Real Red
Accessories: Manhatton Flower embossing folder, Big Shot, Scallop Oval Punch, Oval Punch, Punches Plus Classy Brass Stencil, Wax Paper. Light Box, Ribbon, Dimensionals, Adhesive

Eyelet Borders
Eyelet Borders
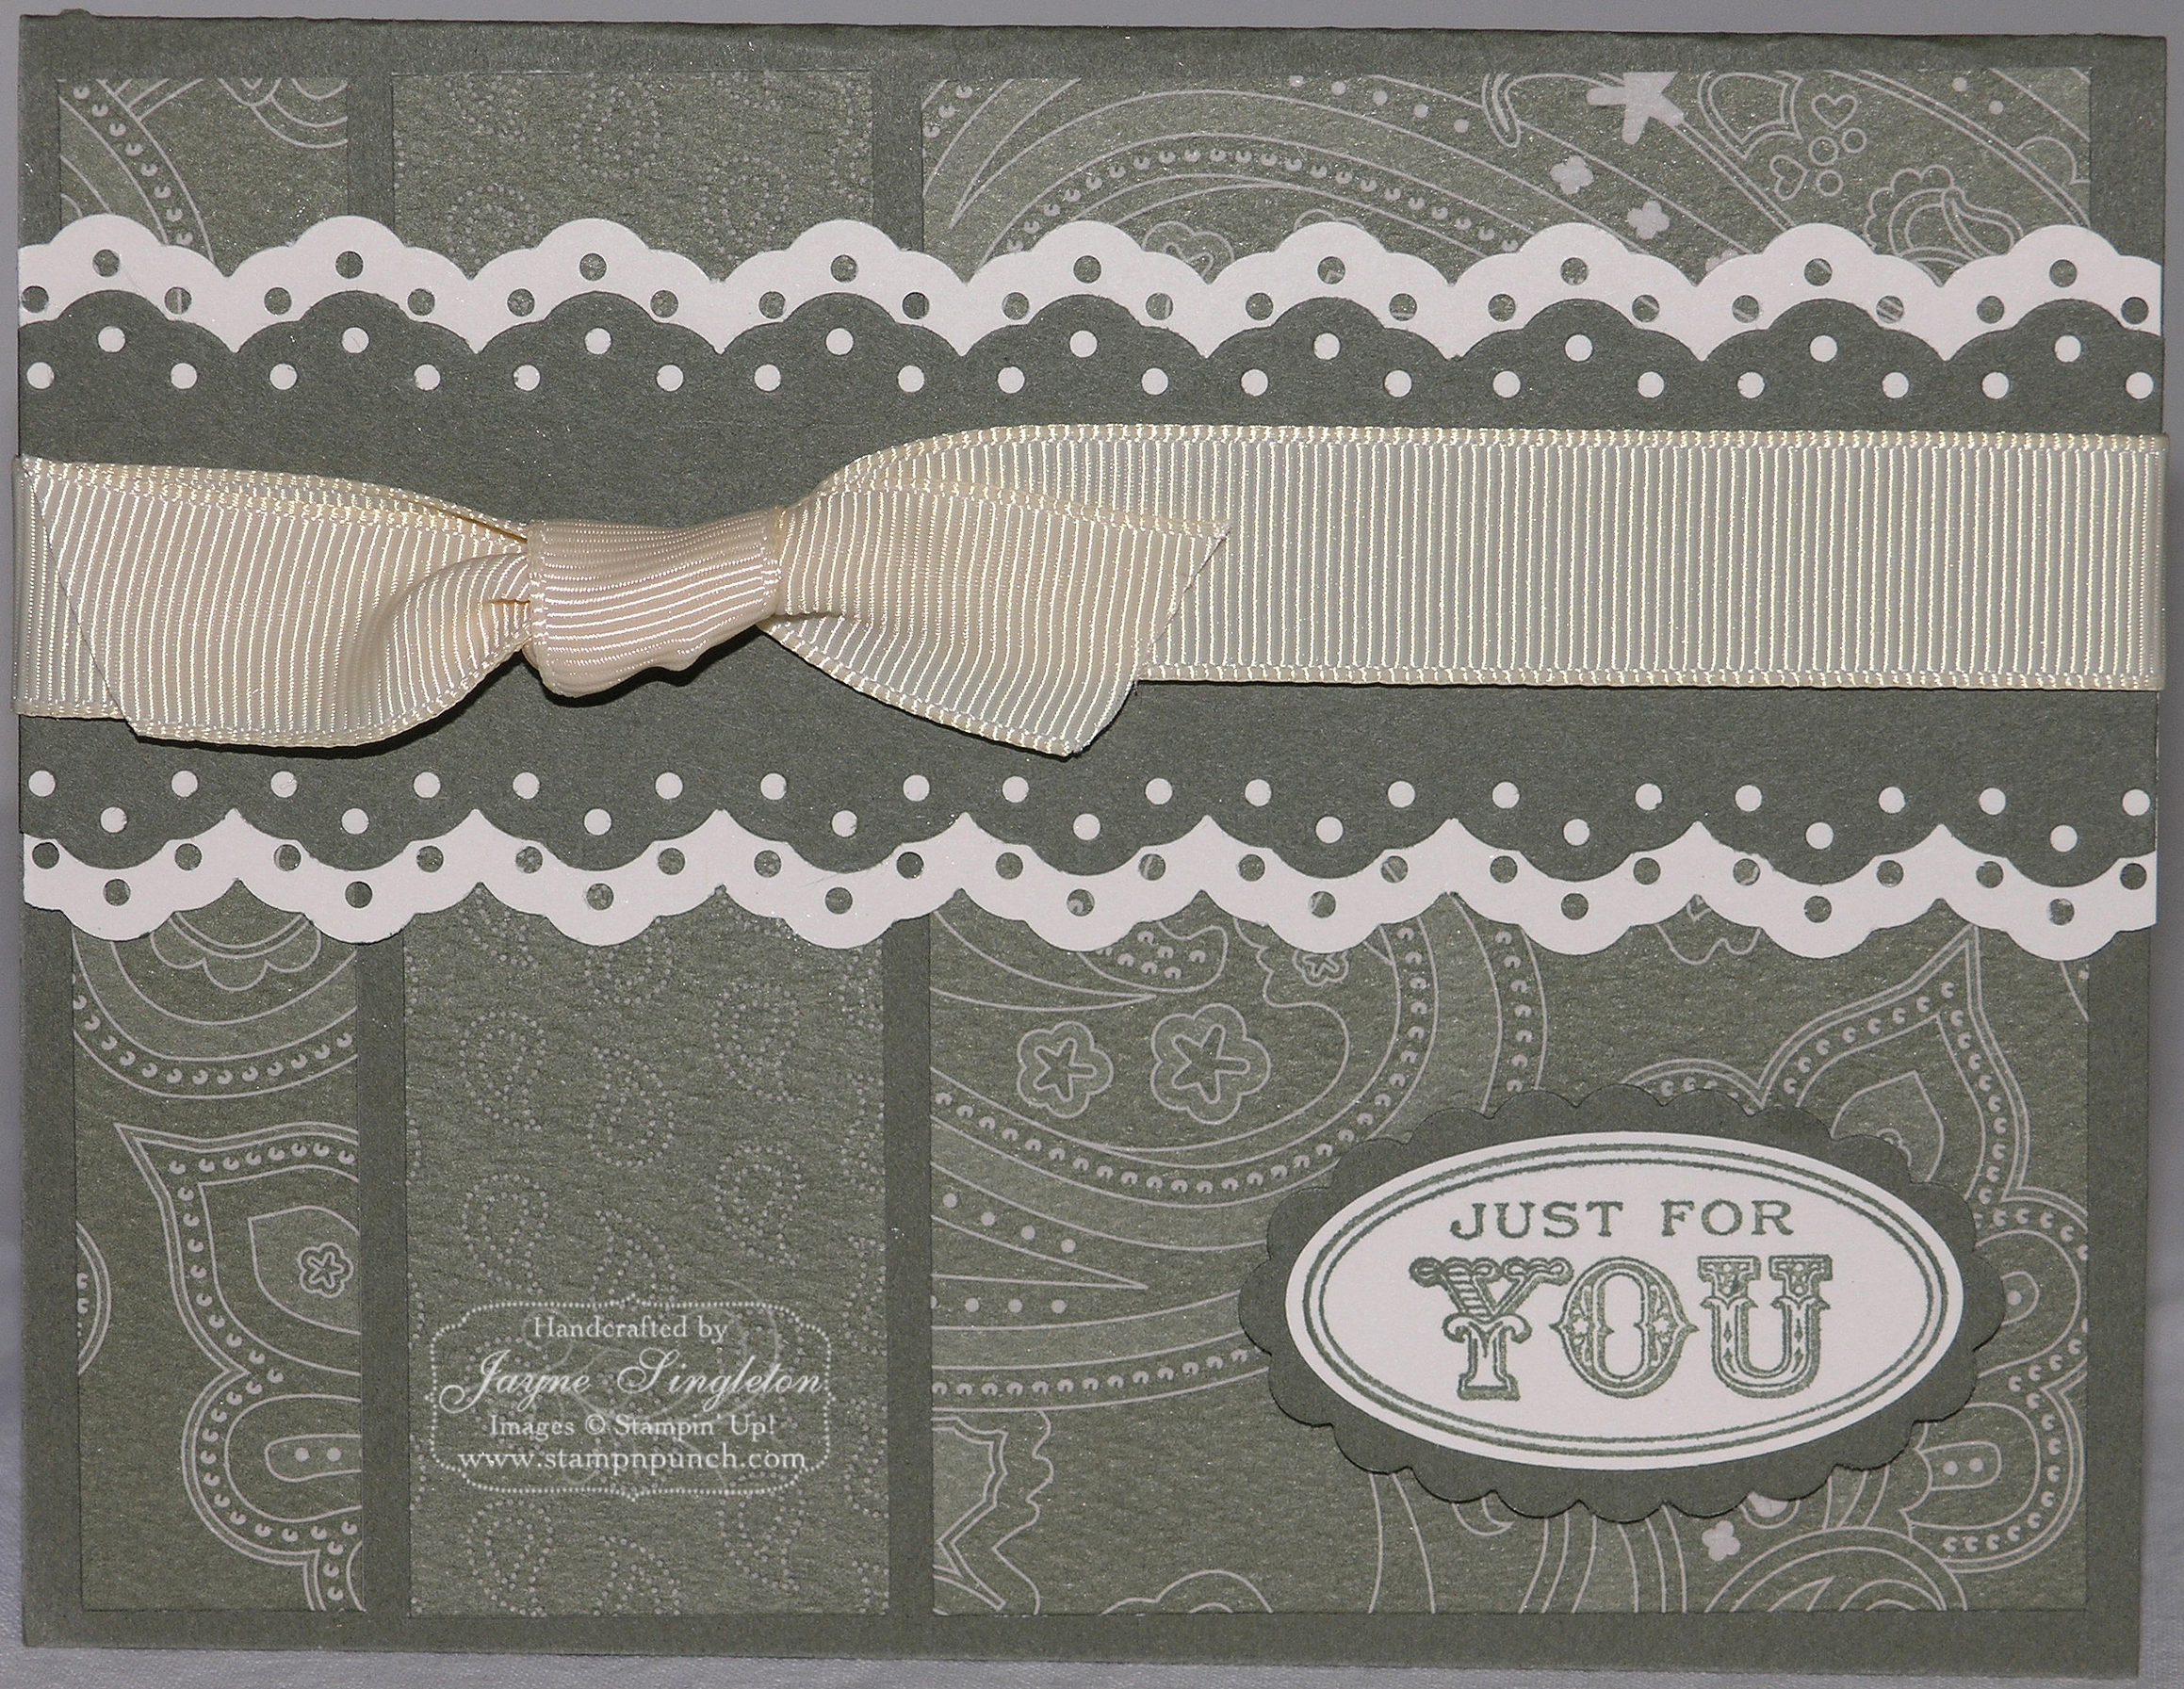
Today’s card is clean and simple (CAS) featuring layered eyelet borders. The base of the card is made from Always Artichoke. Next comes the layers of the To the Nines DPS. The large paisley print is cut at ¾ x 4 inches (on the left) and 3 x 4 inches (on the right). The smaller print in the center is cut at 1¼ x 4 inches.
Next is a 2¼ x 5 strip of Very Vanilla cut on both edges with the eyelet border punch. Layer with a strip of Always Artichoke cut at 1¾ x 5 also edged with the eyelet border punch. (See below for a tip on using border punches). Use a small amount of adhesive to connect the layers and mount the unit onto the card. Wrap with Very Vanilla ⁵⁄₈” grosgrain ribbon and tie a simple knot.
The sentiment from the Oval All set was stamped on Very Vanilla with Always Artichoke. Next, rub the back of the image with waxed paper and use the Punches Plus Classy Brass Stencil oval with a light box to emboss the image for a subtle enhancement. Punch a scrap of Always Artichoke using the Oval Scallop Punch and mount the sentiment. Use Dimensionals to adhere to the card.
Summary
Stamps: Oval All
Paper: Always Artichoke, Very Vanilla, To the Nines DSP
Ink: Always Artichoke
Accessories: Eyelet Border Punch, Scallop Oval Punch, Oval Punch, Punches Plus Classy Brass Stencil, Wax Paper. Light Box, Very Vanilla Ribbon, Dimensionals. Adhesive
Thanks for stopping by.

Looky Here

I've been known to head straight to the corner on Friday after work for happy hour with a group of exceptional ladies. The "corner" is a small Mexican restaurant in a convenient location for us all. It's not a fancy place and the service is lousy. But the food is delicious and the top-shelf margarita’s are incomparable (so they tell me). We have a great time and I treasure the moments we spend together. This week, our beloved Barb retired so I made this card to encase her retirement gift.
The Front
The Tempting Turquoise cardstock base was folded and set aside. A segment of Kaleidoscope DSP sheared with the Scallop Edge Punch is layered onto Regal Rose cardstock. This was wrapped using ⁵⁄₈ inch Regal Rose ribbon and tied with a simple knot. Tempting Turquoise brads were mounted on circles of So Saffron punched with a ⅜ inch hole punch and attached using the mat pack and paper piercer for placement. The sentiment was stamped with Tempting Turquoise using the Congrats set from Sale-A-Bration 2009. This grouping was set aside until the inside was completed.
The Inside
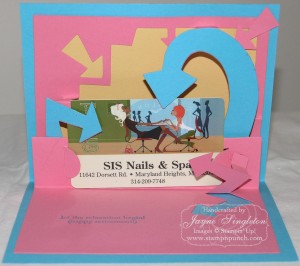
Regal Rose cardstock was put through the BigShot using the Look Here Pop-Up die. This is a tricky die cut and I recommend doing a few practice runs with scrap paper. The tutorial from Dawn’ Stamping Studio was extremely helpful, naturally. As she suggested, I backed the upper half with So Saffron before folding and attaching. I ran a second of portion of Tempting Turquoise through the Big Shot to create the arrow layers. The sentiment was also stamped with Tempting Turquoise using the Congrats set from Sale-A-Bration 2009.
Once the inside was completed, I adhered the front grouping on to the cardstock base.
Summary
Stamps: Congrats (retired)
Paper: Tempting Turquoise, Regal Rose, So Saffron, Kaleidoscope DSP
Ink: Tempting Turquoise
Accessories: Sizzix Big Shot, Look Here Pop-Up die, Ribbon, Brads, ⅜ Circle Punch, Paper Piercer, Mat Pack & glue dots & adhesive.
This was a fun card to make and the WOW factor of the pop-up packed a punch!


