Archive for the ‘Christmas’ Category:
Comfort & Joy
This card could be made with any color cardstock. We chose the Wisteria Wonder because of its soft hue. You can almost feel the comfort when looking at it. We actually switched the center die cut from the snowflake to the Doily setting of the Triple Layer Doily Punch. Ya know–doily on a doily?

Stamps: Hello Doily, Word Play
Paper: Whisper White, Wisteria Wonder, Shimmery White
Ink: Versamark, Wisteria Wonder
Tools: Northern Frost die, Big Shot, heat tool, Scallop Circle punch, flower from Itty Bitty punch pack, acrylic block
Other: Clear embossing powder, sponges, Pearls, glue dots
Inspiration: Annette on LeeAnn Greff’s blog
Wisteria Wonder card base = 5-1/2” x 8-1/2”, scored at 4-1/4” and folded in half
Wisteria Wonder scraps for Scallop Circle & small flower (if small flower is used)
Whisper White = 4” x 5-1/4”
Shimmery White = Snowflakes
Ink up Doily stamp with Versamark. Stamp on Whisper White panel. Cover stamped image with clear embossing powder and heat set. Sponge Wisteria Wonder ink over Doily image and around edges until satisfied with color.
Stamp the Joy sentiment on card front using Wisteria Wonder ink. Stamp inside sentiment of your choice.
Punch out a Scalloped Circle in Wisteria Wonder & sponge. Adhere a snowflake from the Northern Frost Sizzix die or Triple Layer Doily Punch to the center of the Scallop Circle. Punch out the small flower and adhere to the center of the snowflake. Adhere to card front before embellishing with a Pearl in the center.

Sounding Joy
Every once in a while, I come up with a design the even WOWs me. I initially designed this card as a swap for a Stampin’ UP! demonstrator event this past September. It was an honor to know that several of my fellow demonstrators used this card in their Christmas Card Workshops.

Stamps: The Sounding Joy
Paper: Cherry Cobbler, Whisper White
Ink: Cherry Cobbler, VersaMark
Tools: Snow Burst Textured Impressions™ Embossing Folder, BigShot, Acrylic Blocks, Heat Tool
Other: Cherry Cobbler Quilted 3/8” Ribbon, Pewter Embossing Powder, Dimensionals

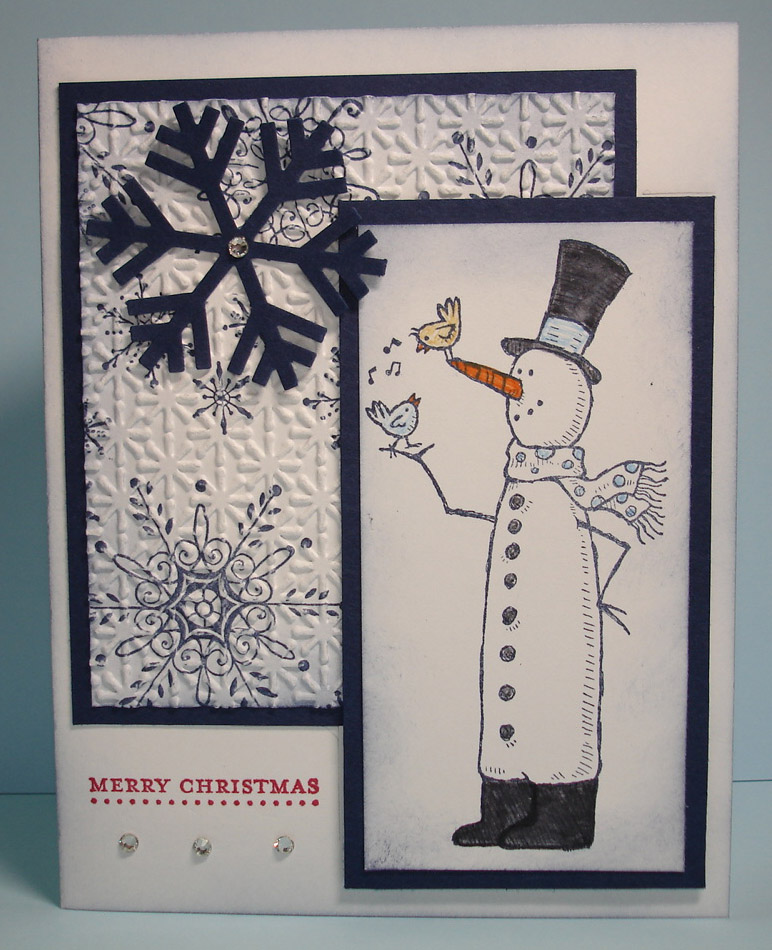
Snow Much Fun
Isn't this card adorable??? I just love the charactor of this whimsical snowman. This was Judy's original design and I fell in love with it immediately.

Stamps: Snow Much Fun, Serene Snowflakes, Teeny Tiny Wishes
Paper: Whisper White, Night of Navy
Ink: Black, Night of Navy, Real Red, markers – gray, bashful blue, pumpkin pie, so saffron
Tools: Big Shot,Snowflake punch, Snow Burst embossing folder,SAMJ
Other: Rhinestones, sponges, glue dots, dimensionals

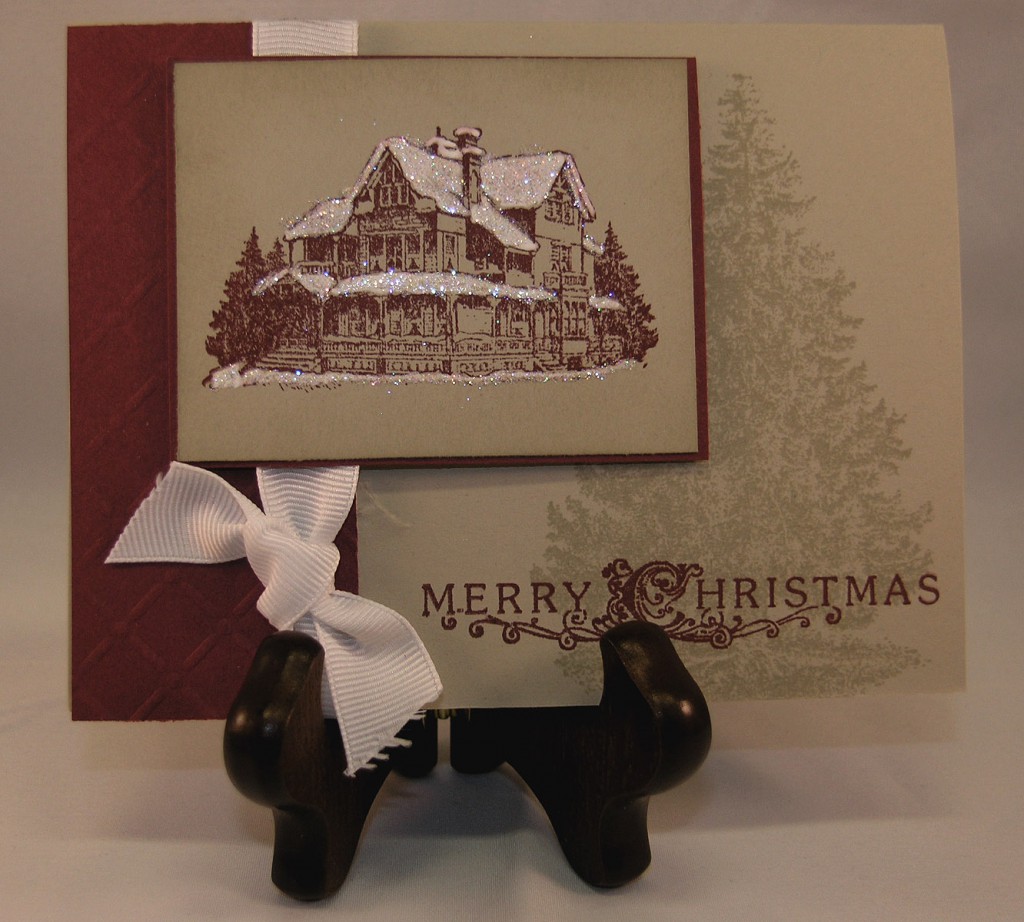
Christmas Lodge

Stamps: Christmas Lodge

Joy at Christmas

The Deck the Halls Designer Paper Series has a vintage pattern that will give your holiday cards that old fashion Christmas feeling. The Cherry Cobbler cardstock is embossed making this card amaziing. I gave this card a swap at a recent Stampin' UP! demonstrator event and plan on it being a card selection at my upcoming Christmas Card Workshop on December 4, 2010. If you haven't received your announcement yet, please email me and I will send it to you.
Stamps: Perfect Punches
Paper: Deck the Halls DSP, Soft Suede, Very Vanilla, Aways Artichoke and Cherry Cobbler
Ink: Cherry Cobbler
Accessories: Petals -a -Plenty Sizzix Embossing Folder, Scallop Punch, Sizzix Circle # 2 Die, Ribbon, Dimensionals and adhesive.


